AI Product Photo Backgrounds: Prompts and Review Checklist
Change a product photo background with clear AI prompts. Use examples for studio settings, protect product details, and check the result before publishing.
Changing a product photo’s background with AI starts with a precise brief: name the new setting, list the product details to preserve, and check the result against the source. A convincing backdrop is useful only if the item still matches what you sell.
This guide gives you copyable prompts, a review checklist, and a practical way to decide when to stop generating and finish an image manually. You can prepare the brief with Brainbaby’s free image-edit prompt planner, then choose whether to submit it in the editor.
Start with the product, then describe the setting
Keep a copy of your original photo. Choose a clear image with the complete item visible and enough separation between its edges and the background. A blurred label or cropped handle gives the model less reliable information to work from.
Write down what cannot change before describing a new scene. For a bottle, that might be its silhouette, cap, liquid color, label, and reflections. For a shoe, it might be the sole pattern, stitching, laces, and material. A request to preserve these details is an instruction, not a guarantee that the output will preserve them.
In Brainbaby, open the AI image editor, choose editing, upload your source, and review the displayed credit cost before submitting. Image Studio accepts an image file up to 10 MB. Use the original at a suitable size rather than repeatedly compressing screenshots of it.
Three background prompts to adapt
Each prompt below is an example brief, not a recorded output. Replace the item description with your own product and keep the preservation requirements specific.
A quiet studio background
Replace only the background behind this amber glass bottle with a warm ivory studio backdrop. Keep the bottle’s shape, cap, label position, liquid color, and camera angle recognizable. Use soft light from the upper left and a subtle contact shadow beneath the bottle. Do not add props, lettering, or extra products.
A restrained setting makes it easier to inspect the item. Check the shadow where the bottle meets the surface; a floating product can look convincing at thumbnail size and wrong when enlarged.
A material-led campaign concept
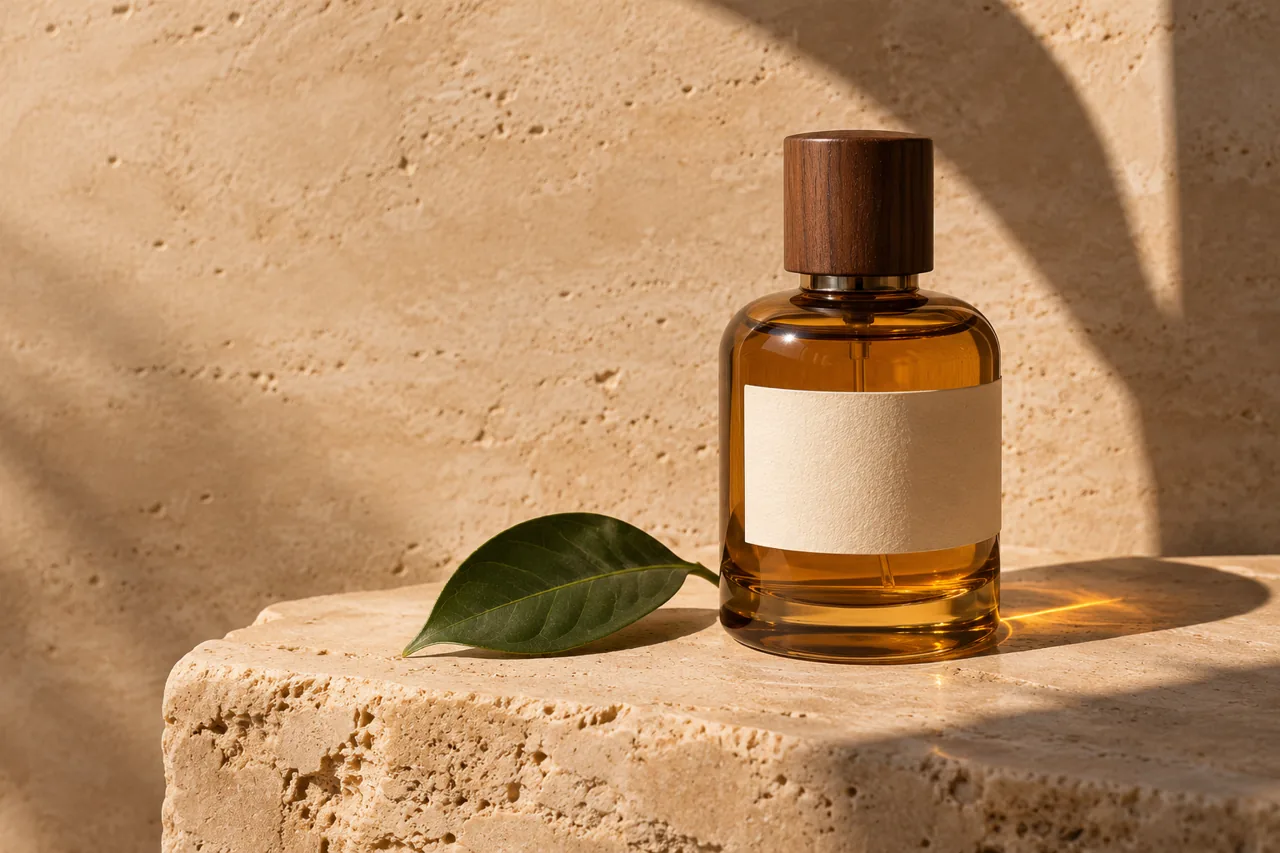
Place this product on pale travertine against a warm stone wall, with afternoon light coming from the left. Preserve the product’s silhouette, proportions, cap, and existing label. Keep the composition simple and leave clear space to the left for a headline that I will add separately. Do not generate new words or logos.
The amber-bottle image accompanying this guide is an original AI-generated editorial concept. It illustrates this visual direction; it is not a before-and-after test of Brainbaby and does not depict a verified commercial product. Its deliberately blank label also makes clear why artwork and finished product photography serve different purposes.
A cooler social campaign variation
Change the backdrop to a muted blue-gray studio wall and surface. Keep the product’s original color, shape, label, and placement. Use broad, soft lighting with gentle reflections. Keep the product as the single focal point and leave space around its edges. No additional objects or text.
Request the background change first. If you also need a different crop, lighting direction, and prop arrangement, handle those as separate decisions. That makes it easier to identify which change caused a problem.
Review the result at full size
Compare the source and result side by side before publishing. Use this checklist:
| Detail | What to inspect | When to reject or repair |
|---|---|---|
| Shape | Overall proportions, handles, cap, seams | The item no longer matches the product |
| Label | Words, symbols, placement, borders | Text is invented, missing, or distorted |
| Color | Product and packaging colors | The edit suggests a different variant |
| Edges | Transparent glass, hairline details, straps | Halos, missing parts, or melted outlines |
| Lighting | Highlights, contact shadow, reflections | Light directions conflict or the item floats |
| Composition | Crop and space for your layout | Important details are cut off |
If exact packaging text matters, place verified artwork back onto the approved image in a conventional editor. Keep final headlines and prices as editable text in your design rather than asking an image model to typeset them.
Know when another generation is the wrong next step
If a narrow request still changes the product, repeating the same prompt spends credits without addressing the issue. Return to the original, simplify the brief, or use a manual cutout and background composite. Keep the accurate product photograph for a listing; use a clearly suitable concept image for creative exploration.
Brainbaby’s recorded editing example includes the source, prompt, output, and review notes. Inspect that evidence separately from the editorial artwork on this page. One successful example does not guarantee an identical outcome for your product.
Plan the cost and final handoff
The public prompt planner prepares text; it does not submit an image job. Generation and editing use the same image-credit wallet when a free attempt is not available. Check the displayed allowance, cost, and current plans or credit packs before starting. Keep the approved source, the prompt, and the final reviewed export together so another person can understand the edit.
For illustrated characters, use a different set of preservation rules. Our character-consistency guide explains how to document distinctive features and check for drift across revisions.
Start your next task with Brainbaby
Prepare your brief, choose a workflow and check the allowance in your account.
Create an account